Friday, March 30, 2012

Things to come...

I've been working on a project this week that I'm just itching to show you- but it's not done yet. Still, the excitement has gotten the better of me and I just have to show you a peek.

Seriously, this one's gonna be good. I hope you come back to see the finished product next week! Until then, happy weekend!

Monday, March 26, 2012

Tiny felt envelope

We had an exciting event take place at our house today- this young man lost his first tooth!


It was only a few minutes before it came out that I even realized it had gotten so wiggly, and that behind it a grown up one was peeking through, ready to take its rightful place up front. (That seems to be the trend with my kids.)

Of course he would need a safe place to keep that precious little gem until the Tooth Fairy makes her visit, so I postponed some furniture painting in order to do a little bit of sewing this afternoon. Instead of a tooth pillow like I'd made for big sister a couple of years ago, I decided on an envelope for my guy.

Here's what I did, in case you'd like to make one, too. (This may not be the correct way to make an envelope, but I was too lazy to look it up so I just kind of did what I thought would work. I'm sure there are tons of other better tutorials out there that you could use if this one doesn't make enough sense!)

Start with a 4"x4" square of felt. (You can adjust the size if you want it bigger or smaller.)


Round off two opposite corners (if you want).


Fold in the two remaining pointed corners so they're touching.


(I forgot to take photos when I did this for the bottom of the envelope, so let's pretend the photos below are actually of the bottom and not the top. But you'll do the same thing for the top as well.)

Fold the bottom rounded corner up and over the two touching corners. You'll notice that the folds at the top are a little bulky and unsightly.


Press those folds flat with your finger to create creases in the felt.


Snip along the creases.

I highlighted my cuts with green below to help you see it better, though your cuts will actually be a 90 degree angle.


Here's what your square will look like when it's unfolded. (See those 90 degree cuts?)


Fold your side corners back in...


... and your bottom corner up over those...


...and secure them together with pins.


Using some embroidery floss, sew the sides and bottom together using a simple running stitch.


Starting at the inner corner of one of the sides, make a running stitch that goes along the upper edge of the side, then over the top flap and down the top edge of the other side. (That sounds complicated. Just look at the pictures and you'll see what I mean.)


Almost done!


If you want to embellish your envelope you certainly can. How cute would a tiny embroidered tooth be on that top flap? I chose to add my little guy's initial.

And don't forget to add some sort of closure. A snap would be great, but I didn't have any handy so I stitched on a tiny button and just cut a small slit in the top flap for it to go through.
Press your envelope with a nice hot iron to get the creases to stay put.

Now hand it over to its new owner and watch their excitement as they bury it under their pillow in anticipation of that first magical visit from the Tooth Fairy!

(Then pray she doesn't forget...)

Monday, March 19, 2012

Before and After: Wrought Iron Bed and Table & Chairs

Over the summer I hit a yard sale that was a total score (don't you just love when that happens?). I was able to buy this dresser, the maple twin bed from this post, and the bed I'm about to show you, all for $20!! Yeah, it was a lucky day for me.

This pretty little headboard and footboard sat in my garage for months because I wasn't really sure what to do with it. It wasn't in terrible condition, and everybody loves white iron beds, right?

Finally, though, I decided to do something a little unexpected and chose to paint it a COLOR.

I was so inspired by Cailan's yellow iron bed and could totally see this hum-drum bedstead sporting a sunny yellow, too.


But me being me, I can't ignore blue. I always come back to blue. This time, aqua, to be precise. So I posed my dilemma to my Facebook friends and their opinion came back almost unanimously- paint it AQUA!

So aqua it became. And I love it!

This next makeover is another one that's been sitting around my garage for several months, waiting for me to make a decision about what to do with it. Why do people paint furniture such random colors? Seriously- paprika red, mustard yellow and-- I don't even know what color you'd call that green. Anyway, it was weird. But I liked the details of the table and that the chairs were similar but still mismatched.

First things first- everything got primed white to cover those dark paint colors.


I knew I wanted to do white chairs and tabletop and a color for the table legs, but when I found the chair fabric I couldn't believe my luck. It had a fabulous teal, plus the 3 colors that had been used on the table and chairs.

So after I'd repainted them and then distressed, those weird colors showed through but still seemed to "go" because they appeared in the chair fabric. Lucky again!


Here it is set up at the store, waiting for someone to snatch it up!

While we're at it, here's a look at my space as it was last week. Stuffed to the gills with my things and some of another vendor's, and looking quite cute if I do say so!

Monday, March 12, 2012

More favorites

Ready for another list of my favorite things?

Let's start with the yummy stuff this time, shall we? Starbucks makes a delicious salted caramel hot cocoa that I just can't get over. That sweet + salty combo gets me again! If you haven't tried it yet, go grab a cup before hot cocoa season is gone!


I've come to really love the Mrs. Meyer's brand all-purpose cleaner. I love that it comes in a big bottle of concentrate so I'm not paying for water, and it lasts foreeeever. Also, I'm a huge fan of all things lavender scented, so this one really appeals to me.


I also have their lavender scented room freshener. This stuff is powerful, so a little goes a long way!


I have a confession to make- I sleep in my mascara. Shame on me, I know. I wash most of it off in the shower in the morning, but what's left comes off nicely with these makeup remover towelettes by Neutrogena. Because they're so big and I mostly just use them on my eyes, I tear them in half and can make one package last for nearly two months!


These are by far my most favorite pair of shoes- my Birkenstock Eaton clogs.
I live in them during the cooler months. One of these days I'm going to get my hands on a black pair, too.


I've used a lot of Burt's Bees products, but this one tops my list of must-haves. Their Radiance Day Lotion is perfect for my oily skin, and the fact that it has a built in SPF makes me one happy fair-skinned girl. It's true, Burt's Bees can be a little on the spendy side, but for something that I use on a daily basis on my face, it's worth the investment. Plus this little bottle lasts a surprisingly long time!


So what did you think? Do you like these "favorite things" posts or are you ready for me to get back to the DIY and crafty stuff?

Thursday, March 8, 2012

Favorite things

Since I don't have any new projects to share with you yet, I thought I'd do a "favorite things" post and show you some products that I am in love with. That sounds fun, right? Here we go!

I know not everyone is a fan of dark chocolate, but I happen to love it. I also know that not everyone likes salty and sweet together, but I do- especially in the form of this delicious chocolate made by Ghirardelli. I've found it at Costplus World Market and Target. Seriously, you gotta give it a try.


Sometimes I wonder if Bonne Bell adds caffeine to their chap sticks, because I've been addicted to their Dr. Pepper Lipsmackers for about 15 years now. No lie. Love the flavor, love the feel, love, the smell, love the color. If they ever discontinue this stuff I'm gonna be one sad girl.


Biz was part of our laundry room arsenal when I was growing up, but it wasn't until I became a mother of an infant that I really fell in love with it. You know those lovely mustardy blow-outs that our wee ones tend to have just as we're about to walk out the door? I toss those clothes into a bucket of warm water and Biz to soak before they go in the wash and they come out like new. This is tough stuff.


This pretty little bottle of perfume is from Gap and I just love it. I won't even try to describe how it smells, except to say that it's subtle and soft. Just lovely.


Have you seen these cute little ankle socks at Target? They're $1.50 a pair so I grab some every once in a while and now have quite a collection. These were just the ones that happened to be in my sock drawer today. It's like having a little bit of happy on my feet. (Geez, Sarah, think you have enough argyle? Sheesh!)


Any other pen snobs out there? Yep, that would be me. I can't stand writing with a Bic pen. Pilot all the way for me, man.


Speaking of writing, I've developed a little bit of a stationary obsession lately. Target carries some really cute designs, but my absolute favorite right now is this box (actually two boxes- they were just so pretty!) of Stella and Rose blank cards that I bought at Ross recently.


I got lucky and scored the second box on clearance. Yessss!


Just check out those gorgeous colors and prints!

I guess that's it for now. I'll have another "favorite things" post coming up soon.

Monday, March 5, 2012

Before and After: End table

It's been pretty quiet around this little blog of mine, I know. I've been busy staring at this precious angel face for the past 3 weeks.
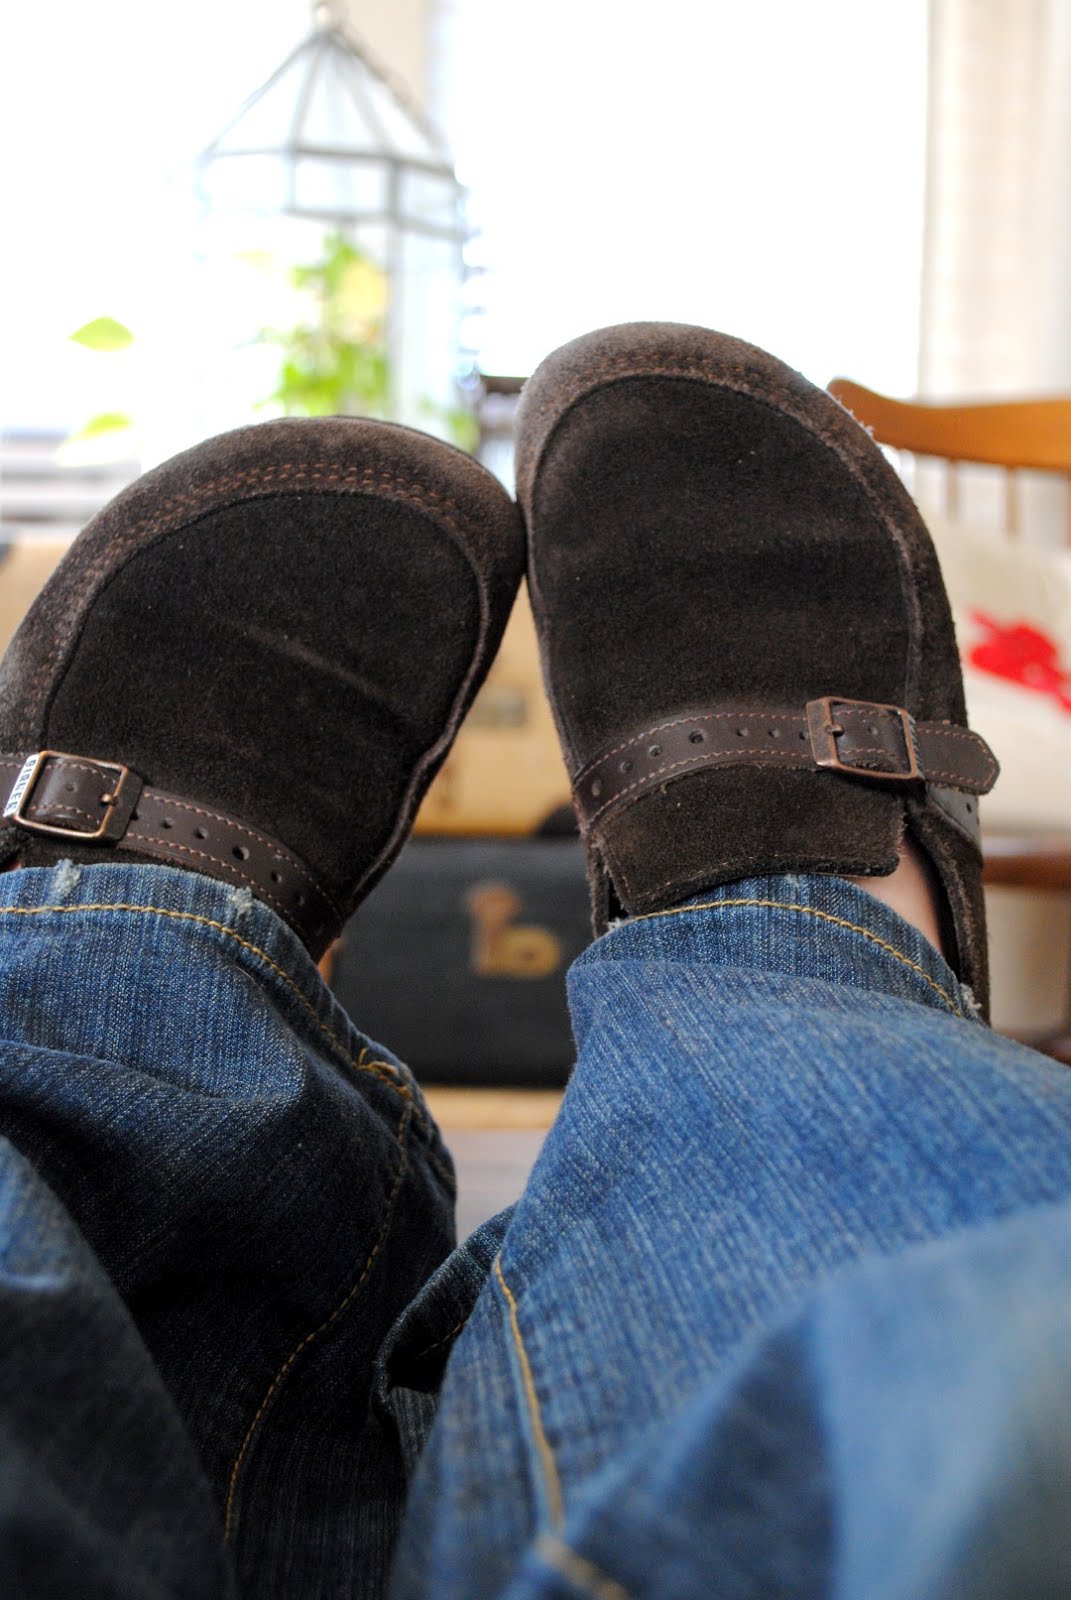
I just want to soak up every drop of his sweet newness before it goes away, so the projects and crafting have been scarce. They'll be back soon, though, I promise!

In the meantime, here's a quick look at a table I painted right before taking my break.

This sad end table was in desperate need of a new look, which I was more than happy to provide.

It inexpensive and sturdy with awesome character and LOADS of potential- just what I'm always looking for in a rehab project!

I decided to keep it simple and just painted it the same creamy white color as my chevron desk (seen in the background) then gave it a brown glaze.

Nothing revolutionary, but I'd say this table now has a whole new lease on life, wouldn't you?